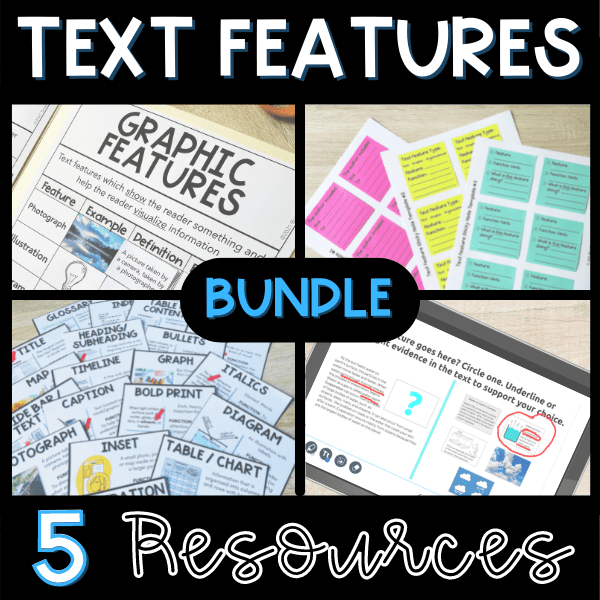
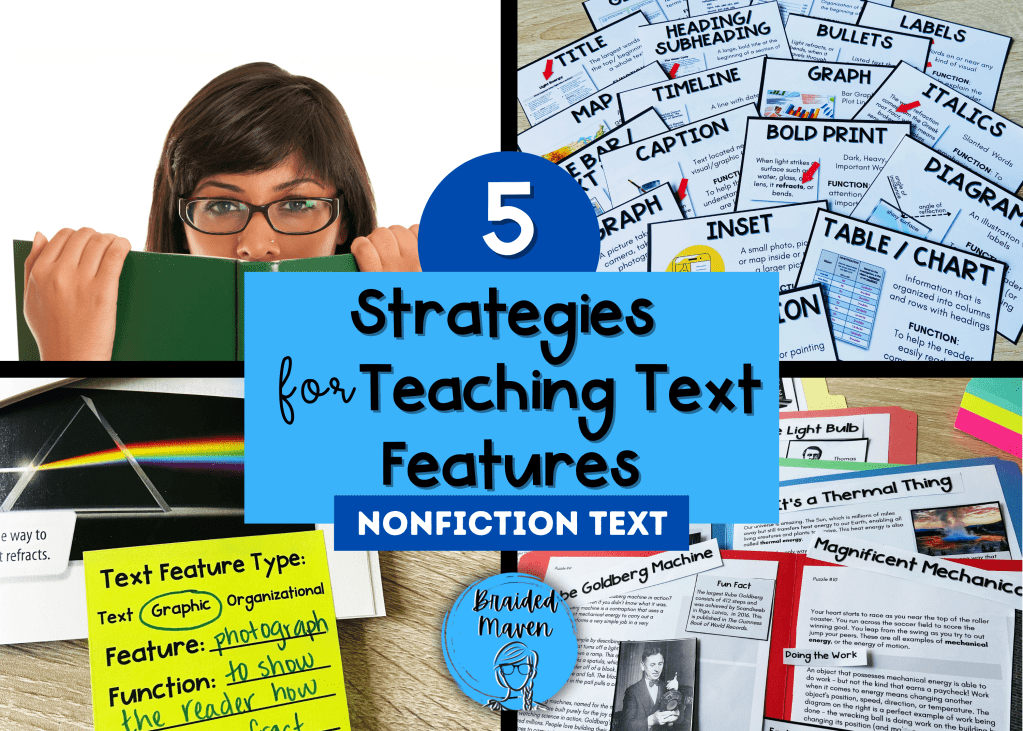
Students need to know how to navigate a Nonfiction text and all of its features – but how do you move beyond just labeling a photograph? This post outlines 5 tips and strategies for teaching nonfiction text features to students in upper elementary!
What are Text Features?
Text features are all of the parts of a text besides the words on the page – photographs, headings, timelines, captions, and a whole host of others. Every year in my 5th Grade classroom, I will be in a small group with students and ask a student to read aloud from a nonfiction text that is full of features. And every year, multiple students start reading at the first word of the first paragraph, completely skipping titles, headings, and other features along the way! This is when I realized that I needed to explicitly teach my students to read the features in a text, but also to understand each feature’s purpose and get to that end goal of metacognition of all of the parts of a nonfiction text.

Strategy 1: Provide Multiple Anchors of Support

Students need to see, talk about, and reference the multiple text features they will read throughout the school year. I like to create an interactive bulletin board as we learn about the features. One activity that has been beneficial for my students is helping me annotate the features in a nonfiction article we read in a different subject, such as science or social studies. That way they start to see reading not as a stand-alone subject, but as an integrated part of all learning.
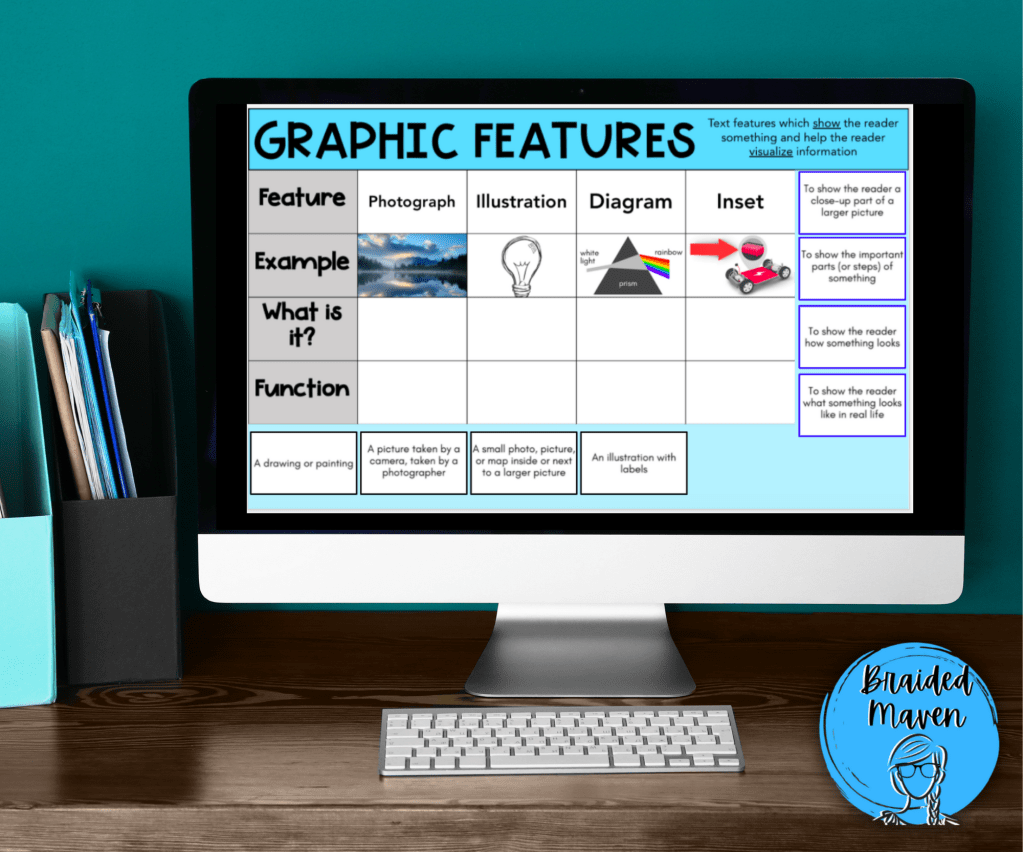
My students also have an anchor chart in their journals to use for referencing. This comes in especially handy when they are practicing not just naming the features they see, but identifying their specific functions (see strategy #3!)

Strategy 2: Create Text Feature “Puzzles” to Promote Actually Reading the Features!
At the beginning of my text features unit, I love to put up a large poster (or display on my document camera) an article of text that is missing all of its features besides the paragraphs of text. I ask my students, “What do you notice? Would this text be difficult to read?” and discuss with students. I also notice and name the fact that students sometimes skip features all together when reading, so that they can start noticing their own patterns of reading. Then, before we read, we will work together to place the features into their correct locations.


You can easily create your own text feature puzzle by photocopying a nonfiction text, then copying the text with sticky notes covering the features you wish for students to put in the correct locations. Then, cut out the features from the first copy and these become your “puzzle pieces.” I love to create the puzzles from articles I already use in other subjects, to get as much bang for my buck as possible. One of my favorite days of tutoring during the school year is having stations of puzzles around my room, and rotating students through them as they have to read and comprehend.
Why does this work so well? My students have to actually read to know where the features go in an article. Which section do they fit with? Which caption actually describes this diagram? This activity goes a long way in helping my students practice close reading skills on all parts of a nonfiction text. No more skipping subheadings and charts!
Strategy 3: Move Beyond Basic Labeling
One skill that almost all of my students come to me with is the ability to label most text features. You know what I’m talking about – you hand them your first benchmark reading test of the year, and they feverishly start drawing lines and writing “photograph” “caption” and other text feature labels all over the article. While this is a great start, how well does this strategy build comprehension and attention to what the feature actually says, shows, or helps the reader do?
When I teach text features, I teach my students not only the names of the features, and not only their functions, but the ultra important third piece: what is this particular feature actually doing for the reader? Let me show you what I mean:
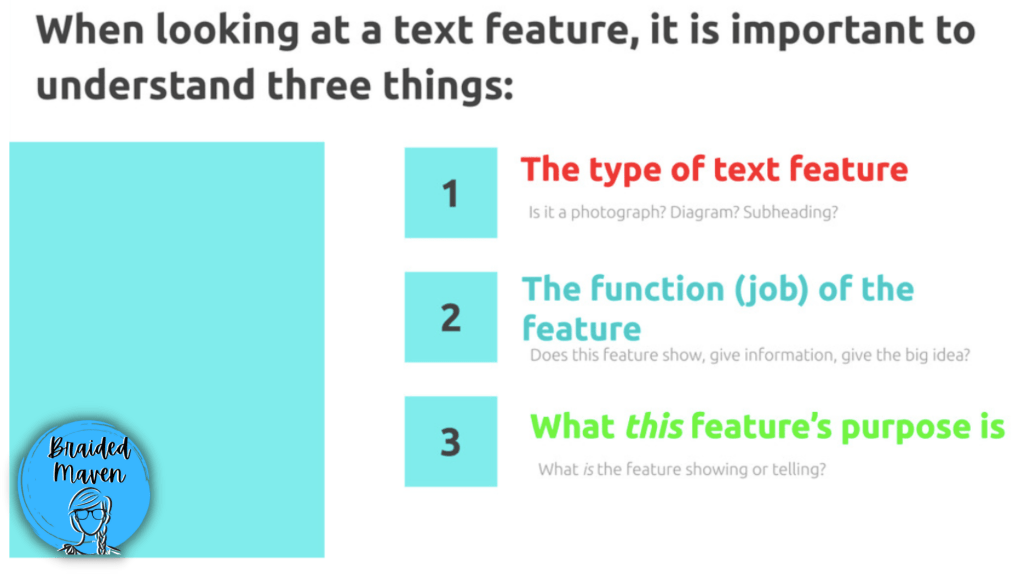
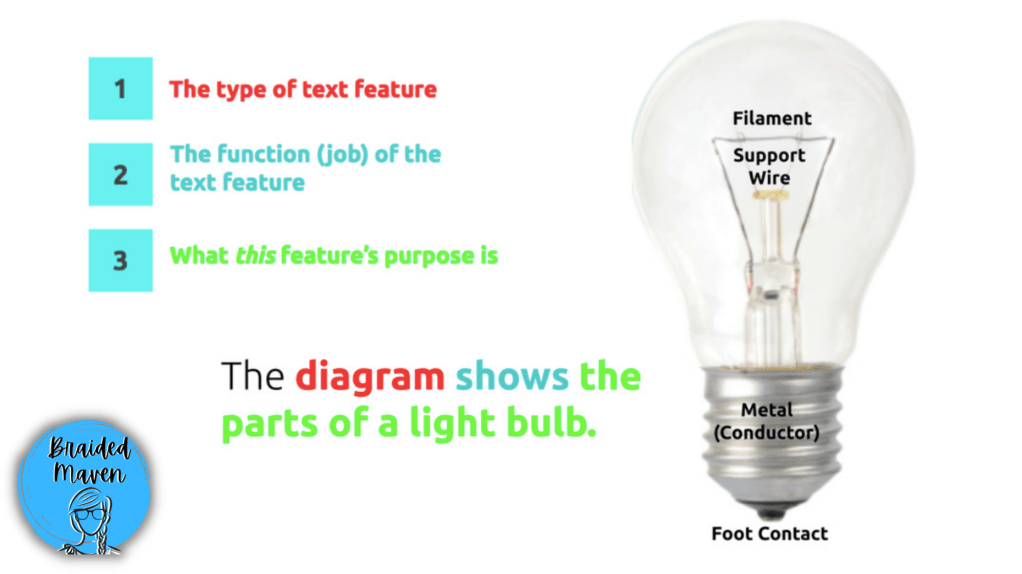
It’s not enough for students to say “that’s a table!” Great first step, but what is the table doing? “It’s organizing information!” Awesome. But what kind of information is this table organizing for you? That’s when things click for my students – they actually read the table, the labels in the diagram, and carefully study the photographs they see and put all of the information together to get to a stronger place of metacognitive reading.
Another question stem I love to use when an article has subheadings is the question “In which section of the text could we learn more about ______________?” This helps students think more carefully about what subheadings say, and they pick up on the idea of a section of text vs. a selection of text.
Strategy 4: Let Students Annotate Texts They’re Reading
Allowing your students opportunities to apply what they are learning during your core lessons to their own reading is so beneficial! One really easy way to do this is to hand your students sticky notes while they are reading any nonfiction text that interests them. With sticky notes, their journal anchor chart, or the display on your classroom wall, they can write what they notice about the features in their book – moving beyond simply writing the word, “photograph.”
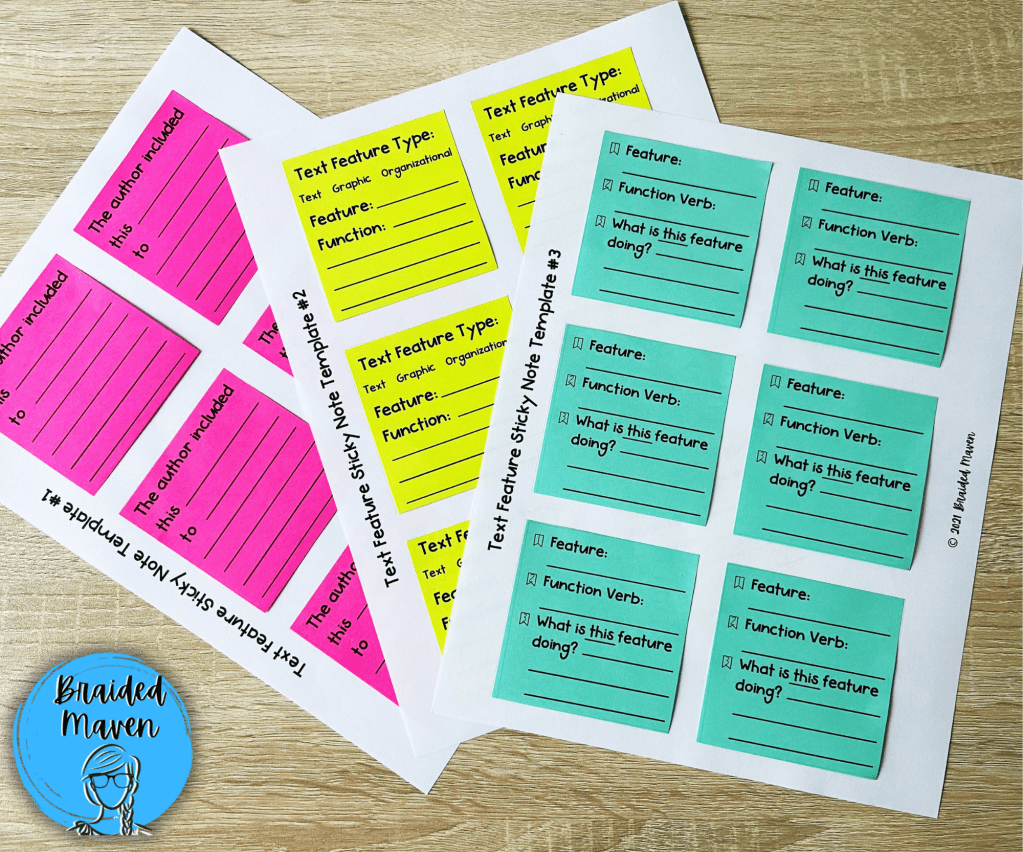
Have you ever printed on sticky notes? It is a VERY easy way to create question stems (and scaffold more or less for each student, depending on their level) for students to use while annotating. There are free templates online for making your own sticky notes. Check out some that I use with my students for text features:

Strategy 5: Differentiate for Your Students
Just like one size doesn’t fit all with most things in education, you need to meet your learners where they are. There are multiple ways for differentiating as you teach and review text features throughout the year.
- Differentiate the texts your students are annotating by reading level.
- Differentiate by using question stems! You might provide a guided stem on the desk of a student who needs more support as they are answering questions about features.
- Change the difficulty level of the sort or resource you are using! For example, with the text feature puzzles pictured above, I might give a more advanced student four articles and all of the features and present it as a challenge for them to solve, while a student who struggles more with reading may receive two articles with parts of the feature puzzle pieces solved but others for them to sort.
- Scaffold when you are questioning. You might ask What is this feature? What is this features function? What is this feature showing? I also let students use their journal anchor notes or go look at our wall anchor chart to help them find the vocabulary they need.

How Do You Teach Nonfiction Text Features Virtually?
This past school year definitely presented a challenge, since I couldn’t put the puzzles, sorts, and sticky notes in the hands of all of my students! However, there are many virtual ways to practice. You can create a sort in Google Slides, make one VERY easily using Teachers Pay Teacher’s brand new Easel feature (which let’s you create digital drag-and-drops and all kinds of things!). I also relied heavily on engaging apps like Nearpod when I made lessons this year. This way all of my students were still engaged even though we were apart! It was actually a great opportunity for students to respond in chat, so I could see multiple students doing the equivalent of “raising their hand” when describing the three steps of a text feature.
I hope that some of the strategies I described will help you and your students tackle the world of text features! Happy teaching!
Do You Want the Resources Referenced in this Blog Post? Get them all below!